As many have found out - often the hard way - stainless steel feels like a completely different beast than aluminum. Primarily, it is significantly harder and it dissipates heat less effectively than aluminum, making thinner panels more likely to warp.
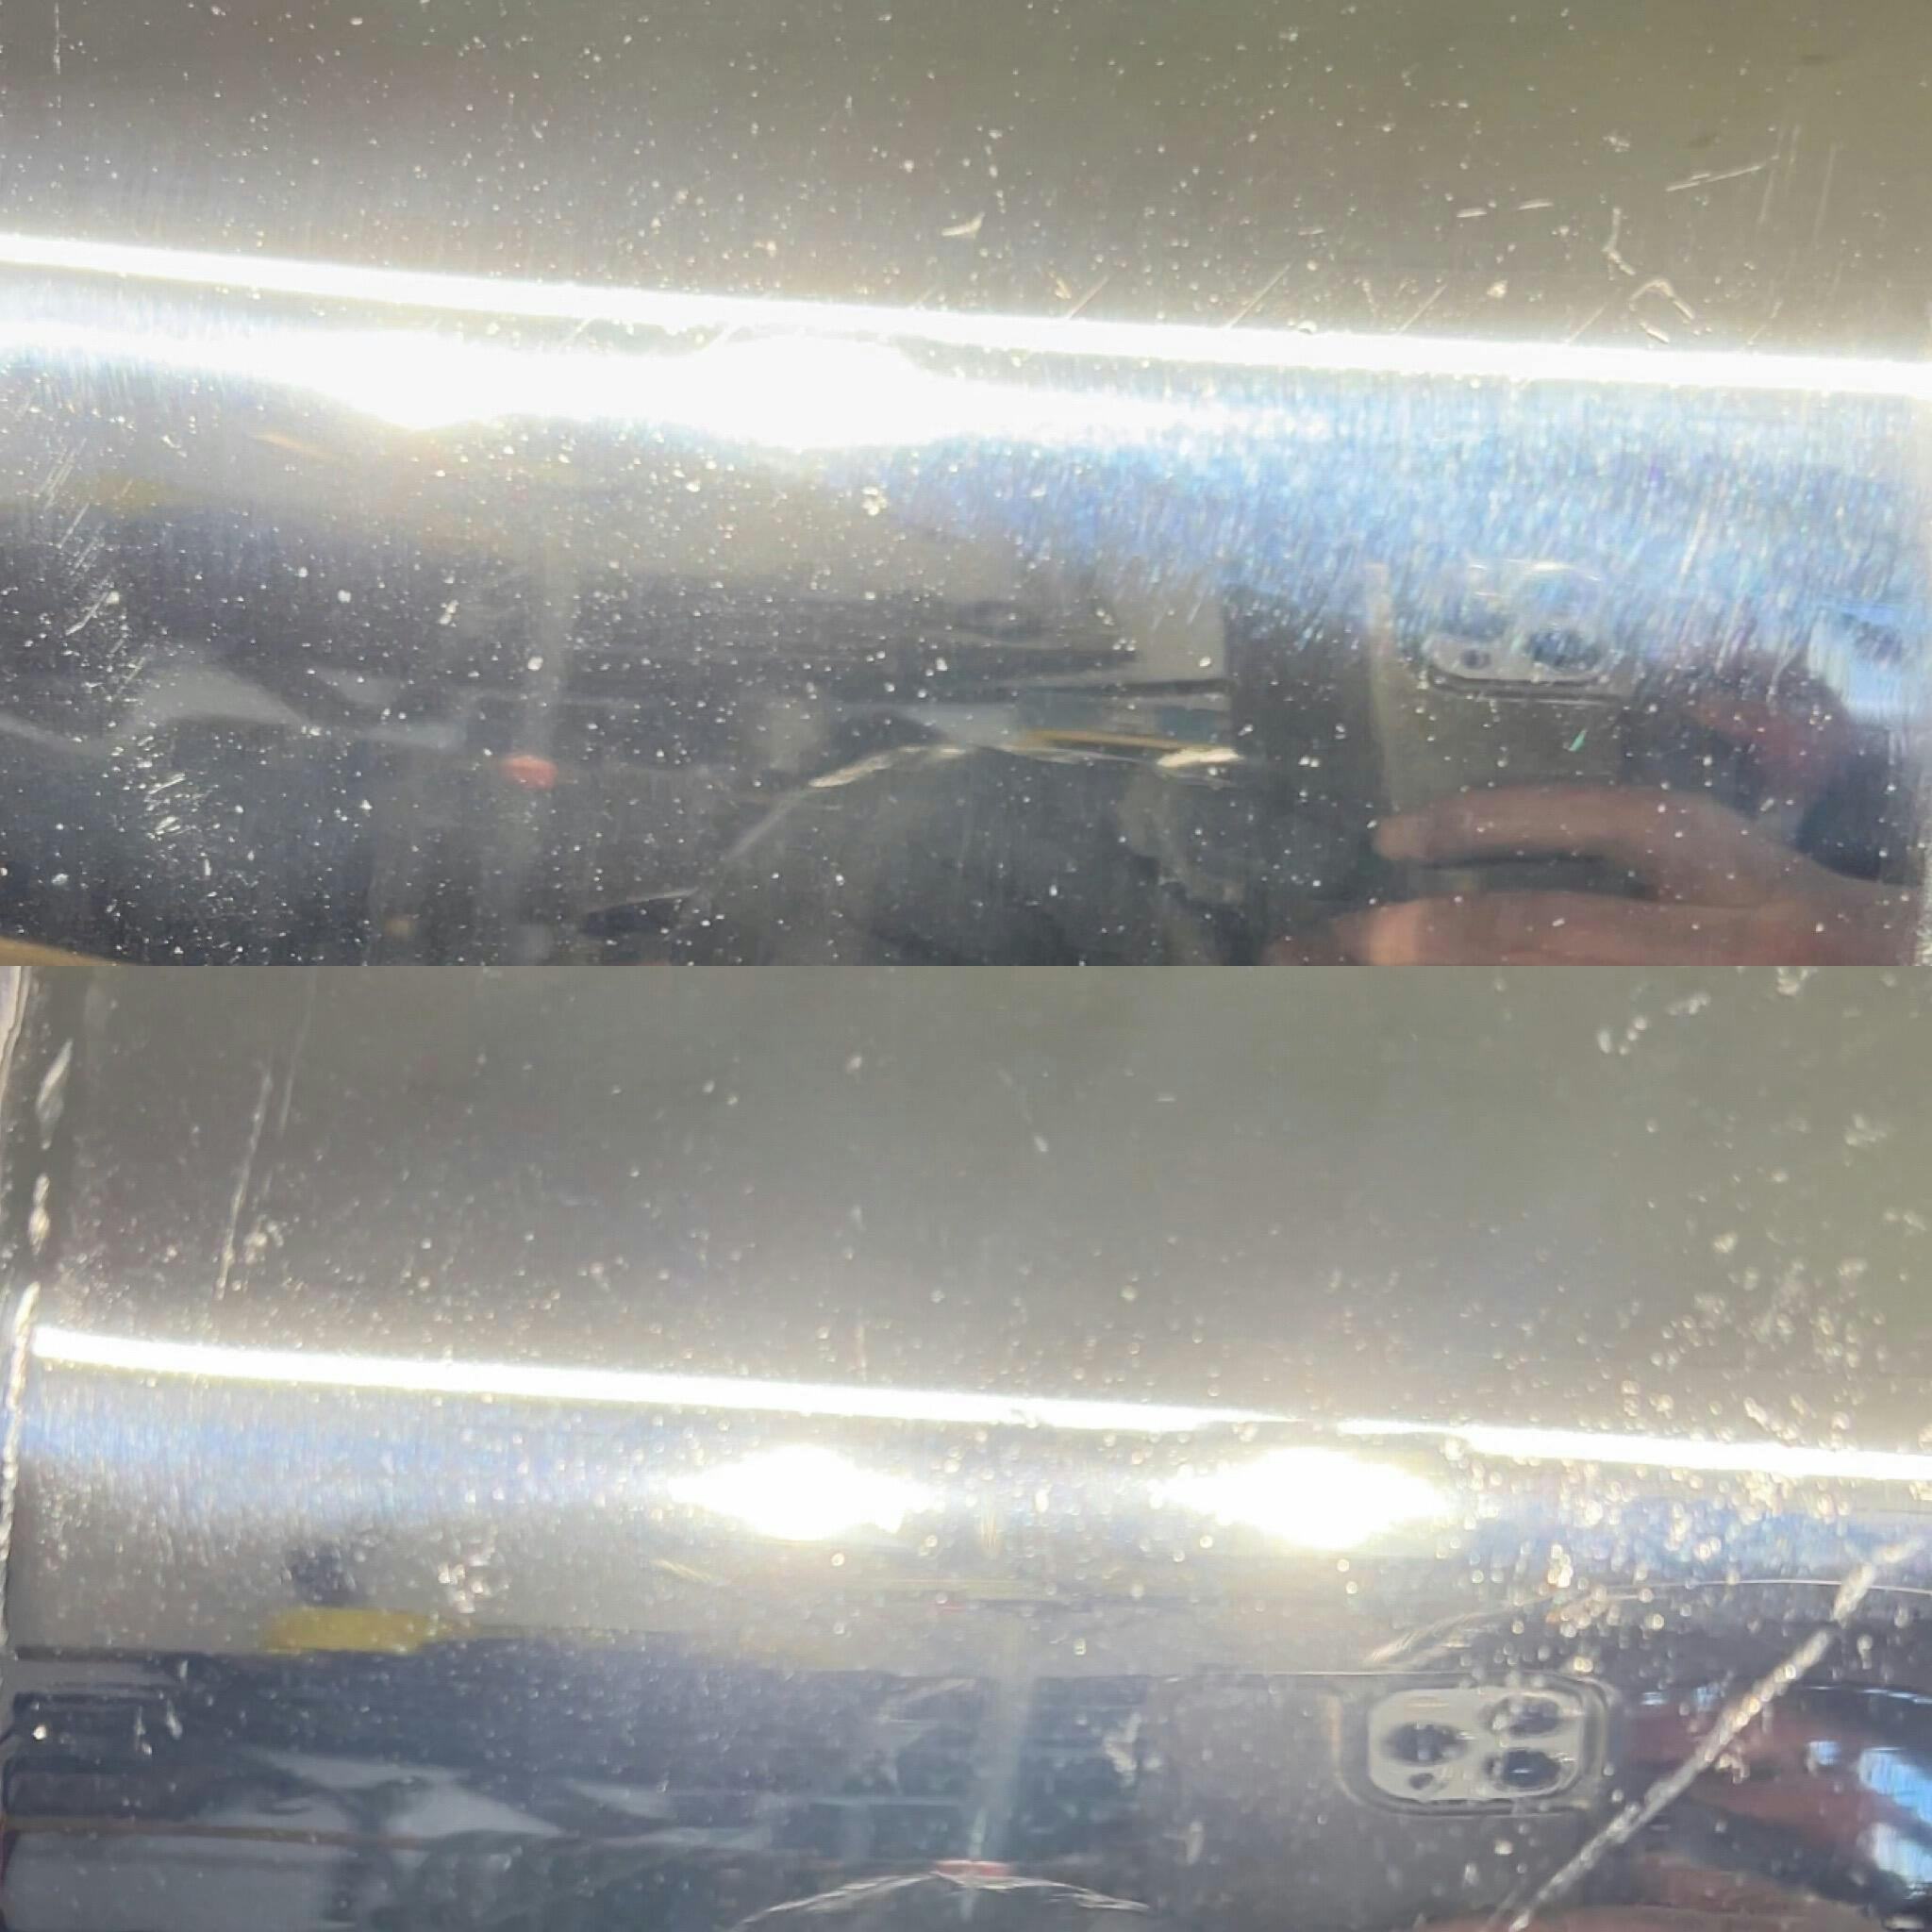
With a couple of exceptions, most stainless steel parts on heavy trucks are reasonably thick and not likely to warp easily (excluding things like light gauge headache rack panels), but they do represent a different challenge. Luckily, your hard work will pay off: stainless steel is much, much more resistant to corrosion and oxidization, and a mirrored piece can remain gleaming for a long period of time with little maintenance.
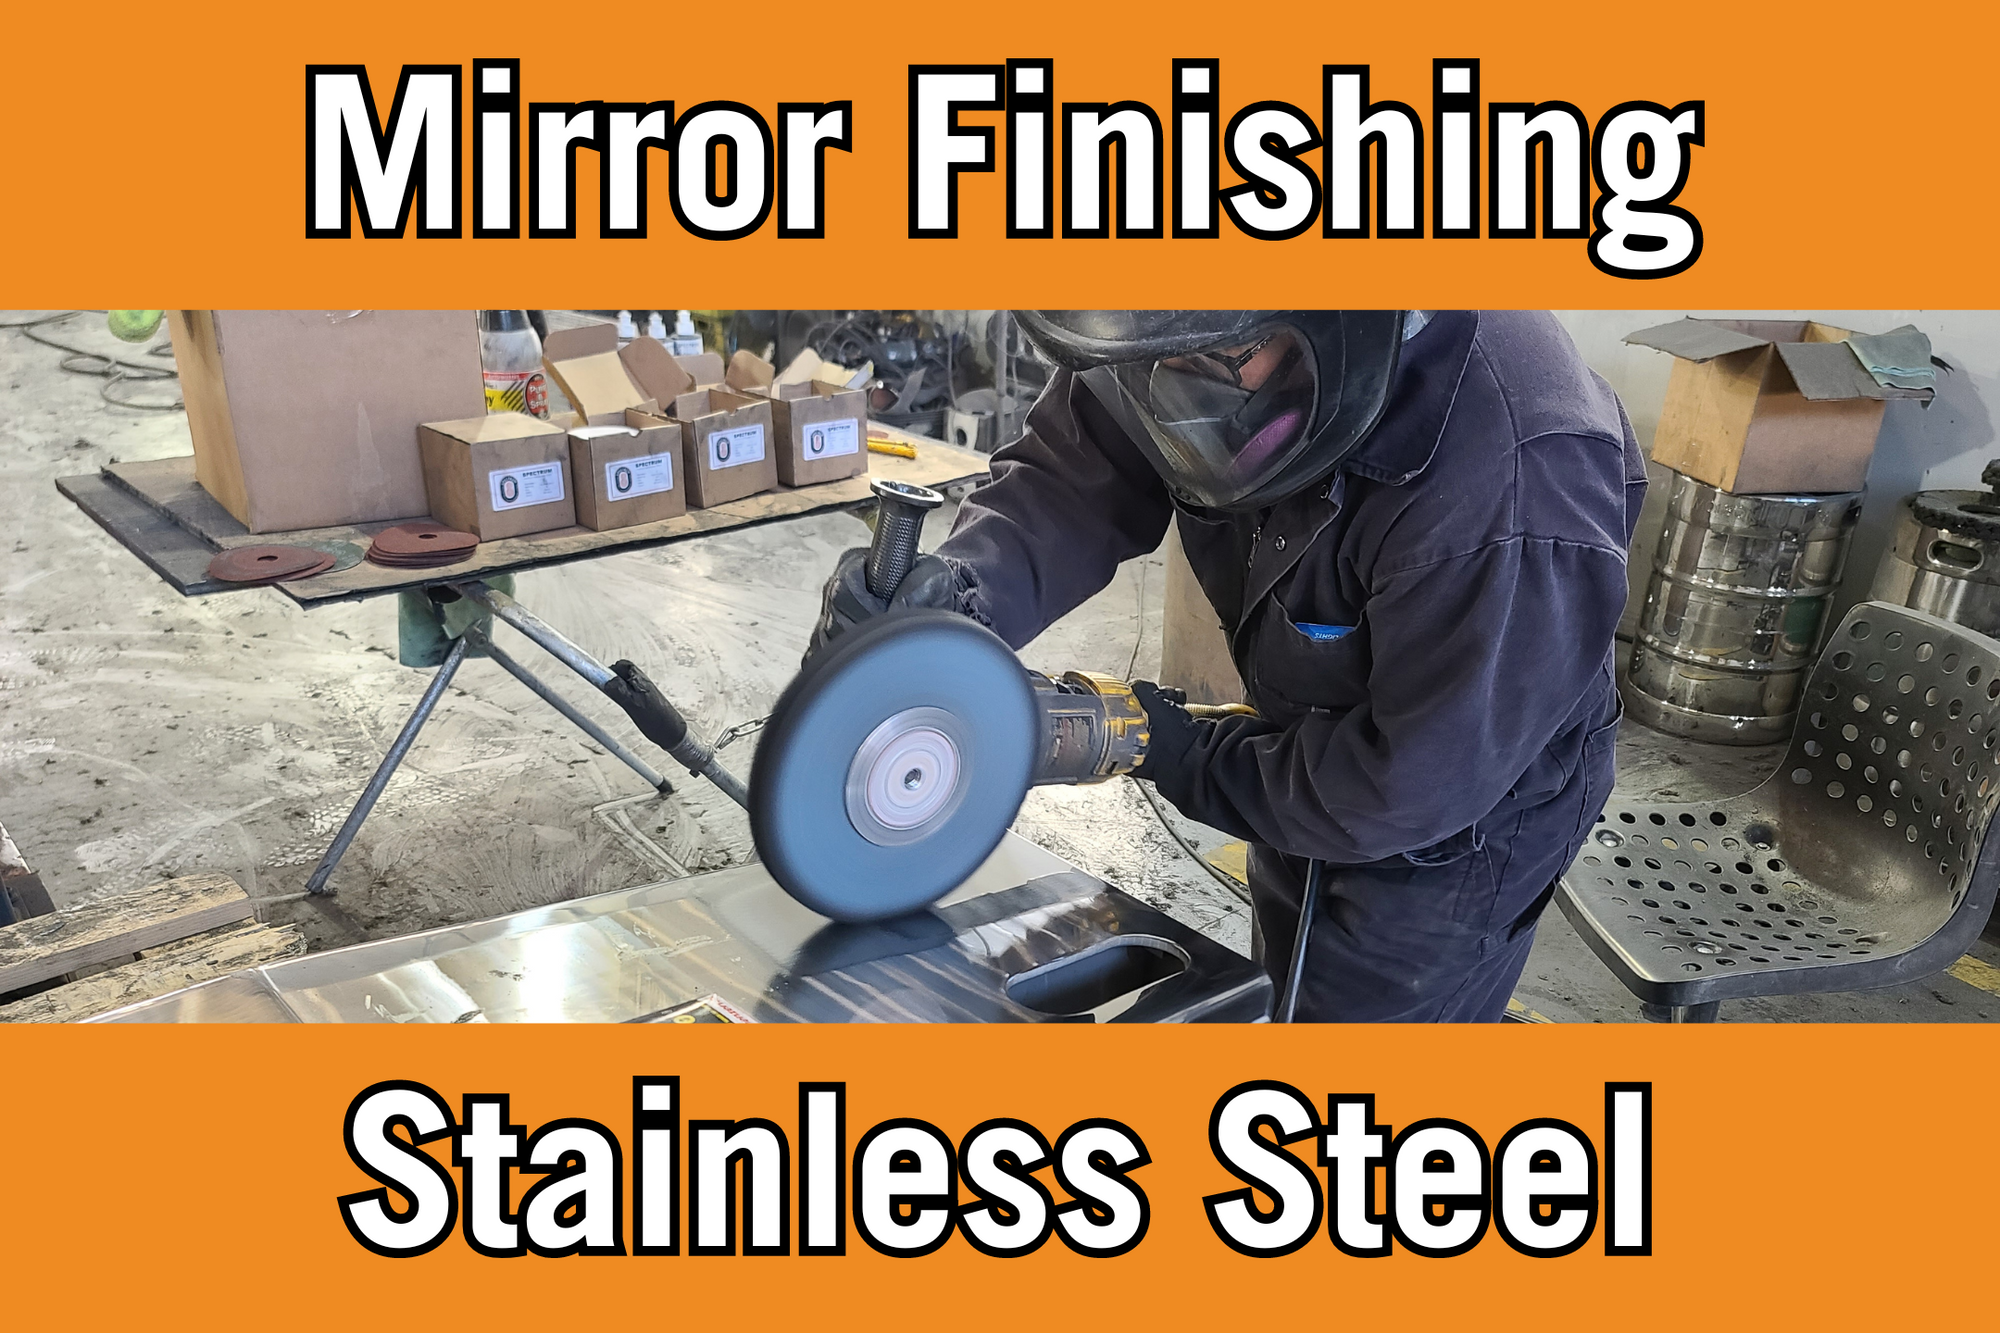
Tackling Stainless Steel: Material Requirements
Stainless steel has a different physical structure than aluminum and as such requires different compounds to look its best. Brown (tripoli) compound is made up primarily of soft, round particles of microcrystalline silica and is an effective cutting compound for brass and aluminum; unfortunately this compound has little effect on stainless steel.
Menzerna's most popular compounds (439T Heavy Cut and P14F Medium Cut) are made with special abrasives that work effectively on most metals, including stainless steel. Menzerna does recommend compounds made especially for stainless to increase your efficiency:
- 333 Medium Cut has a bit more cut than P14F and is made with green chromium oxide abrasive; this product works well with stainless steel because chromium is a significant component of the alloy
- P126 Finish is a dry compound made especially for mirror finishing stainless (although it's also effective on harder aluminum alloys)
You don't need 333 if you have P14F, but it can produce better results faster in some instances. 480BLF (Menzerna's aluminum-specific finish) is not well suited to stainless steel so P126 is recommended.
We also suggest:
- 523 NG / 523LBZ Super Heavy Cut: we don't recommend this frequently as it's a very aggressive compound. It's designed to remove up to 180 grit sanding marks from stainless steel (used with a sisal buff) but may require a secondary sisal stage just to remove. As is, we mostly use it to grind out casting (even on aluminum) where we can't reach with sanding tools. It can, however, produce an excellent brushed/satin finish on a sisal buff.
- 456G Heavy Cut: a specialty, dry and precise heavy cut compound designed for precious metals (titanium) and stainless steel. It doesn't go as far as 439T, but is much cleaner working and it's easier to see when you've fully removed scratches or sanding marks.
- P164 Medium Cut: officially a precious metal finishing compound, it's actually recommended for all materials by Menzerna. It represents a less aggressive, but higher colour compound than P14F and can make for a nice "in-between" stage before finishing.
- P275 Finish: another precious metal and stainless steel finishing compound, this bar combines a higher grease content and more cut than Menzerna's other finishing compounds. Greatly improves your process flexibility, especially if you find P126 is not aggressive enough to remove anything you've missed to that point - you can continue pushing your finish forward, rather than go back to a previous stage.
- P175 Super Finish: Menzerna's second finest compound, and well-suited to all materials. Because stainless is harder than aluminum, you can finally achieve buff-trail free results without micro scratches from your softest buffs. Officially recommended as part of Menzerna's stainless steel process.
- M5 Super Finish: the final precious metal (and stainless steel) Super Finish compound is Menzerna's finest bar and produces unbelievable results: buff-trail free - like P175 - and even more gloss. It's not inexpensive, but the more work you do prior to the Super Finish stages, the less compound you will need.
The other major tool we recommend for stainless steel is a sisal fiber buffing wheel: in short, it enhances the cut of your compounds to make them level faded, scratched, and sanded stainless steel more efficiently.
The natural fiber of the Agave plant, grown in South Africa and South America, is a cost-effective and robust natural fiber for metal-polishing, which has become a material of choice due to its mechanical qualities. By using only first class, long sisal fibers for matting and braid, the quality of Hilzinger's sisal polishing tools is exceptional and guarantees a long life. Sisal buffing with the appropriate compounds can easily follow grinding with abrasive belt grits of 240 for non-ferrous metals and grit 280 for stainless steel; pure cotton buffs would be hard pressed to do this. This conversion from abrasive belt grinding to sisal buffing at an early stage is economical and cost effective; a good industrial finish will be achieved but no mirror finish without refinement. Finer, more shining surfaces can be achieved by using sisal/cotton combinations, instead of pure sisal matting or sisal braid. Sisal buffing wheels are frequently impregnated with special treatments to increase the longevity of the buff, enhance the polishing effect, and enhance compound retention - resulting in savings on both polishing buffs and compounds.
Most North American producers purchase sisal fiber from South America or Mexico; unfortunately the vast majority of fiber grown there is meant for twine and coffee bags. As a result, multiple crops are produced in short periods of time, resulting in lower quality fibres with reduced mechanical benefits.

Mid-grade vs third-best East African sisal fibers.
Hilzinger, in contrast, has a public-private partnership in Tanzania where they have begun to grow their own source of the highest quality sisal fibers.
Used properly, our Hilzinger dip-treat sisal makes quick work of faded stainless steel and even works well on some softer metals without pulling the grain of the metal.
- Removes up to 180 grit sanding marks with 523 NG/523LBZ Super Heavy Cut
- Removes up to 280/320 grit sanding marks with 439T/456G Heavy Cut
- Although not technically rated for it, Stephane has successfully (and efficiently) removed 320 grit sanding marks from stainless steel with even P14F Medium Cut and a variable speed polisher - although your sanding will need to be good to accomplish this easily.
Breaking in a Sisal Buffing Wheel
Dip treatments are a bit different than mill treatments in that they are applied to buffing wheels after construction of the buff. This can result in a sort of "crust" on the ends of the fibers, requiring a rake, some heat, and a bit of extra compound to soften up and "break in" the buff for normal use (so it will retain compound). Hilzinger's special soft dip treatment further enhances their top-grade sisal fibers by adding weight (buffing efficiency) and durability (lifespan) without making it excessively "hashy".
Stephane explains breaking in a dip-treated sisal buffing wheel.
Two things to keep in mind with sisals is:
- Although the buffs are not officially rated for 6,000 RPM (like any), it can significantly increase your cut speed (it will also increase your buffing line aggression).
- You do not need a lot of pressure to get the enhanced cut - if it's not cutting out sanding marks as expected, consider re-evaluating your sanding process (did you get out all your 180 grit?) or ensure it's fully broken in. Do NOT use a lot of pressure or you WILL make buffing marks that are more difficult to remove in your following stages.
A team member levels textured stainless on the backside of a stainless steel fender with just a variable speed polisher and Menzerna P14F Medium Cut. Minimal pressure is required to achieve quick, pre-polished results and a less aggressive cut will speed up your follow-up steps.
Sanding and Buffing Technique
Given stainless' hardness and penchant for getting hot in a hurry, sanding and buffing should be approached more... extremely than with softer metals like aluminum.
1) For pieces that require sanding, DA sanding is generally not your friend, except on especially fragile pieces (e.,g classic car trim). Not only will it barely remove material, the sanding pattern will be more difficult to cut out later. Stephane recommends rotary sanding with a hard backing plate, although some of our customers have used interfaces and/or sanding grease to keep things smooth (albeit a bit slower, keeping your sanding smooth and controlled will make your cutting stage significantly easier and initially is more important than being fast).
2) Your sandpaper will dull more quickly. Not only will your sandpaper remove less material than on aluminum, the material it does remove will tend to glaze on your discs due to the lack of heat conductivity in the metal. Change your discs often and you will have a much easier time cutting.
- Ceramic sandpaper can help, but it's typically not worth the additional cost in this form - more so on cloth sanding belts where significant grinding is required and the improvement in efficiency and lifespan is noticeable.
3) Much like on aluminum, cross-cutting is extremely important; unlike on aluminum where you can "brute-force" those "whoopses" (leftover lower grit sanding marks, missed cutting marks) in later stages, you will just sit there wasting time on stainless. As with aluminum, work small (shoulder-width) sections and then blend across them at the end of a stage.
- On flat pieces, consider doing one stage vertical, and your second stage horizontal (at 90 degrees). Buff until all vertical lines are gone before moving on to another stage, every time.
- On pieces like air cleaners and shields where horizontal buffing is less practical, work at a less extreme angle (e.g., buff angled 30 degrees) and proceed the same way.
Suggested Process
Because stainless is a harder metal and sisal buffing wheels are more aggressive than cotton, expect to do one step more than normal when utilizing a sisal (e.g., a 2-step cut and colour becomes a 3-step pre-polish, cut, and colour).
- For most previously mirrored stainless (e.g., air cleaners, exhaust shields, etc.):
- If the front face is significantly faded or scratched, consider using a sisal buffing wheel and Menzerna 439T Heavy Cut to pre-polish the surface quickly. If not, try starting with Step 2.
- The backside typically requires a less aggressive approach; once the front side has been cut, follow up around the whole piece with Menzerna 333 or P14F Medium Cut on a Yellow Mill Treat primary cut buffing wheel. If your sisal marks were too aggressive to remove easily, consider using a more aggressive buff (Grey Mill) or failing that, a more aggressive compound (439T again). If all else fails, try a Medium Cut on the sisal before stepping down.
- For a good mirror finish, jump to an 86/82 Untreated mirror finishing airway and Menzerna P126 Finish.
- For a deeper, glossier mirror finish, instead follow up with a Clear Mill Treat secondary cut buffing wheel and P275 Finish before completing the process with a 60/60 Untreated or Molton Flannel fine mirror finishing airway with P175 Super Finish or M5 Super Finish. Stephane generally suggests going through more stages (P164, P275, P126, P175, M5) for the best results.
- For badly damaged (pitted) previously mirrored stainless (e.g., stainless bumpers, fenders) you will typically need some sanding for the best results. Go only as low in grit as you need to remove the most significant defects.
- For 2B mill finished or #4 brush/satin finish stainless, you will typically need to start with at least 180 grit sandpaper to remove texture efficiently. Bring up to 320 grit, sisal, and follow with your preferred process.
- For raw/cold-rolled stainless, you will need 80 grit sandpaper and perhaps even more aggressive resin fiber grinding discs to remove the worst mill scale (e.g., think of stainless steel tubing) before moving on to sanding proper. Bring up to 320 grit and continue as above.
From most to least aggressive, Menzerna's stainless compounds are ordered as follows:
523 NG/523 LBZ > 439T > 456G > 333 > P14F > P164 > P275 > P126 > P175 > M5