
Although the majority of the questions we get revolve around buffs, compounds, and related techniques, we find that most of our customers benefit from some adjustments to their sanding technique. If your sanding is on point, polishing will come much more easily and ultimately take less time (and time is money)!
When should you sand?
Because polishing requires making a surface as smooth as possible (so light reflects in straight lines instead of scattering and causing the surface to appear cloudy), it can be helpful to flatten out highly textured (rough) surfaces first with sanding. On aluminum, effectively the only time we won't sand is:
- When we personally sanded and polished a piece in the last 6 months;
- It has been well maintained since.
Pitting, scratches, and other defects result in a less-than-clear reflection, and frequently make buffing itself more time-consuming and difficult.
What is sandpaper grit?
The size of the grit is then determined by how many of each particle can fit through a 1 square inch filter. The larger the particle, the less can fit through at once. E.g., 60 grit sandpaper means only 60 large particles can fit through the filter, whereas 1000 grit sandpaper means 1000 tiny particles can fit through the filter at once.
As a result, lower grits are more coarse and aggressive, while higher grits are more fine and gentle. Lower grits will remove surface stock more quickly and leave deeper scratches, while higher grits will remove little material but refine deeper scratches into finer scratches.
What grits do I need to polish aluminum?
Generally on aluminum we recommend starting with as coarse a grit you need to be efficient (remove deeper imperfections quickly) but as fine as possible to reduce overall time spent (if you have 320 grit scratches, don't remove them with 80 grit sandpaper or you will make more work for yourself). One way to evaluate this is try the finest grit first, see if it's having a quick effect on an obvious defect; if not, step down to your next most aggressive grit.
Keep in mind you may not need your most aggressive grits for all parts of the project: e.g., a fuel tank tends to be beaten up a lot more on the lower third due to rock pitting. It might need 180 grit to start while the upper portion will only need 320 or 600 grit.
- On aluminum, we generally recommend sanding to at least 600 grit, although some prefer to make their first stage cutting easier and sand to 800 grit.
- Sanding beyond 800 grit is wasted effort because your early cutting compounds are designed to pull up to 180 to 400 grit sanding marks (with the appropriate buffing wheels). You will simply be making deeper scratches than you are starting with.
- Some folks find that excessively high grits can cause problems later on as well due to "pore filling" although this is unclear. It can certainly cause issues when staining wood but it's a completely different material.
What grits do I need to polish stainless?
Stainless is a significantly harder metal than aluminum and except in the case of thinner gauges, does not come mirrored. 2B or #4 brushed stainless typically needs at least 180 grit to efficiently remove textured metal. Raw/cold-rolled stainless typically needs grinding with something more aggressive (e.g., a resin disk) to start and 80 grit sandpaper to level that - this is an advanced and time-consuming project and not recommended for beginners.
Normally we sand our stainless to 320 grit and then begin cutting with a sisal buffing wheel and heavy (Menzerna 439T/456G) or medium cut compound (Menzerna 333/P14F).
Sanding Methods & Tools
There are three common sanding methods/motions:
- By hand (recommended only when absolutely necessary for tiny spaces because it's time consuming and strenuous)
- Dual-Action (DA) or Random Orbit (Palm) sanding
- Rotary Sanding
Dual Action/Palm Sanders are the most common starting point because they are inexpensive and easy to use for beginners. In addition, they are the safest to use because they remove material in a slow and controlled manner; excess pressure will simply bog down the machine. They are the best choice for small/fragile pieces and pieces where you cannot easily control stops and starts (e.g., a mounted rim). Random orbit sanders both rotate and orbit to accomplish abrasive action.
Rotary Sanding is normally accomplished with a variable speed grinder (we recommend INOX (stainless) models like the Dewalt DWE43240INOX or Metabo WEV 17-125 QUICK INOX because they have more torque than top speed, allowing you to use more pressure without stalling and overheating the motor). You can use your variable speed polisher but due to the larger body and location of the trigger it is more difficult to control.
Rotary sanding more aggressively removes material, and if controlled, is generally easier to cut out than DA sanding because it is uni-directional. However, it's easier to do damage to surfaces, lose control of the machine, and can be more difficult to cut out if used improperly.
We recommend the use of a firm backing plate in combination with an interface pad when rotary sanding; this allows you to be more aggressive when needed. By utilizing interfaces of various thicknesses you can improve your control on flat surfaces and more efficiently tackle curved surfaces like fuel tanks and rims.
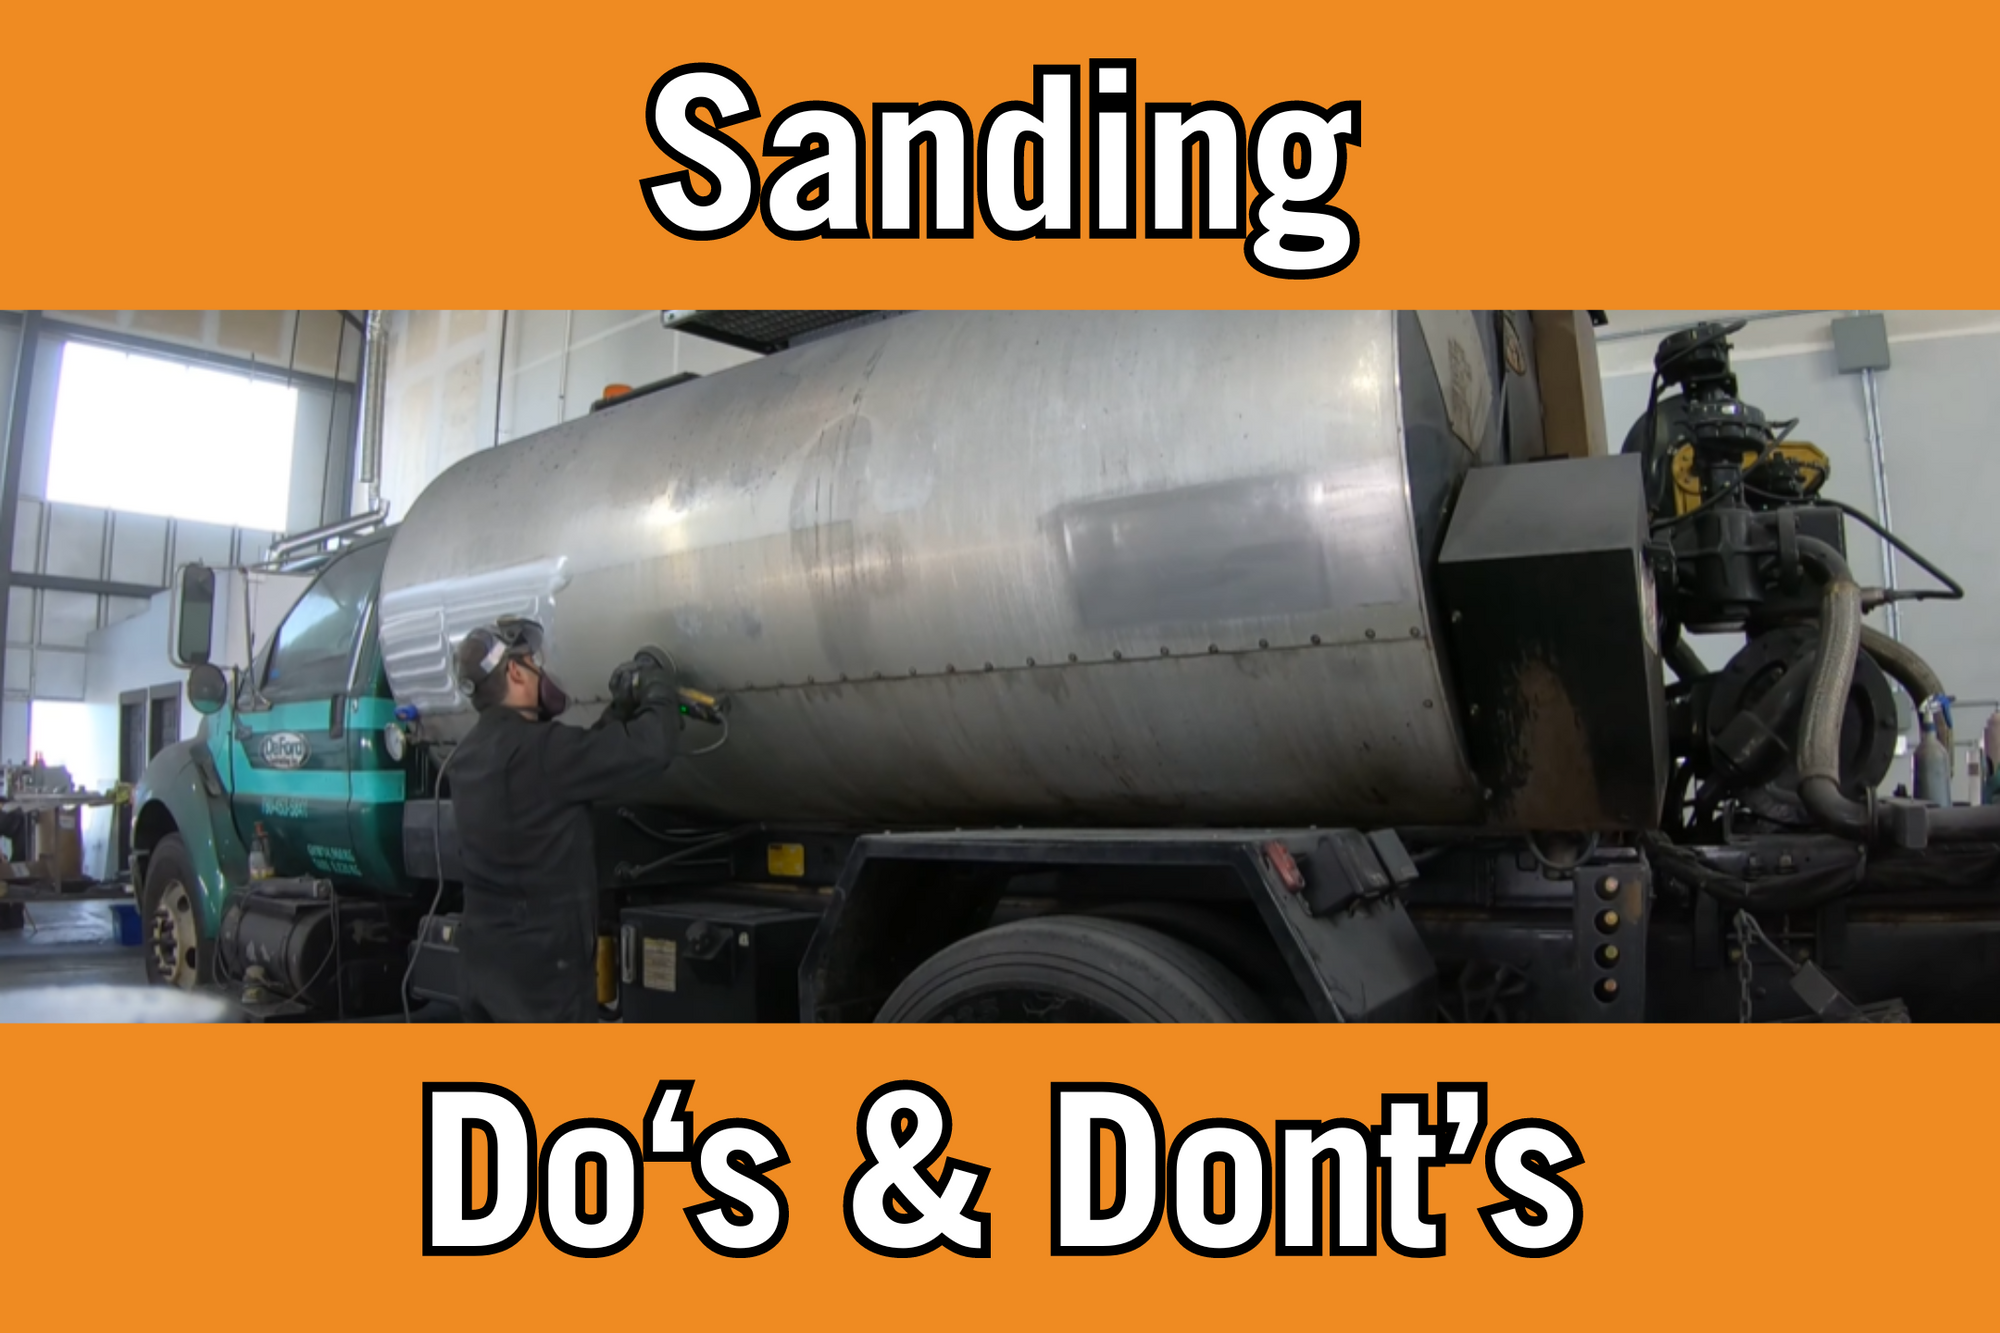
Sanding Do's & Dont's
- Don't dig. While tempting to put your sander on edge and dig out deeper scratches, this will produce dips in the metal that will become especially visible once polished as they will cause the light to reflect at different angles.
- Removing deep scratches effectively requires leveling the entire surrounding area to a point just below the deepest part of the scratch. Sometimes you simply don't have enough time or material to do so - and even if you do, removing too much material could have a negative effect on load-bearing capacity of things like rims.
- Avoid running your sanding pad on edge as much as possible. Many of our customers have difficulty cutting out their sanding marks because they do all their sanding on edge. They frequently do this to compensate for a lack of control because when they hold the pad flat it wants to grab and create "half-moons"; by putting less surface area down at a time it reduces the "grabbing" power of the disc and makes it easier to control...
- However, this increases the aggression of your sanding discs by causing them to dig and chop (this also occurs on paint with polishing pads). It can help to do a flat run afterwards to smooth things out but better to avoid doing in the first place if at all possible.
- Although we don't use it, some customers like to use a sanding grease to help keep things smooth and even.
- Keep your arm speed slow and consistent. If you move too quickly across the surface, your sanding marks will be further spread out, more aggressive, and be less consistent in removing your previous grits. Overall, they will be significantly more difficult to cut out. Stephane frequently moves across a surface more aggressively in one direction, then comes back over it again slowly to ensure all previous grit is removed before moving up to his next "row".

Rough, widely spaced rotary sanding marks are more difficult to cut out.

Tight together and smooth rotary sanding marks are significantly easier to cut out.
-
Don't over-use your sandpaper. Sandpaper is likely your greatest expense (aside from time and labour) when metal polishing. Ultimately, it is a consumable and should be treated as such. Do not expect to use the same disc for 2 minutes at 5,000 RPM; the abrasive grains do wear down and become dull, causing a "glazing" effect and less even cut that also increases the difficulty of your polishing stages. Stephane regularly uses discs at high speed for no more than 30 seconds at a time, and discs will dull more quickly on harder materials (e.g., stainless steel).
-
Overlap your passes. Make sure you are overlapping your passes by one third to one half. This well help prevent obvious ridges and missed grit.
-
Use quality sandpaper. Spectrum sandpaper is made with high quality velour, thick paper to prevent tearing, and double anti-load coating. It's also made with an open coat to minimize loading on soft metals and keep the paper working efficiently. The wrong kinds of abrasives and bonding agents can cause excessive heat and burning that negatively affects the grain of the metal and makes it difficult to properly polish.
- Ensure you fully remove your previous grits before moving on. If you start at 80 grit, move up through 120, 180, 320, and 600 grit but still have 80 grit scratches leftover... you are going to have a bad time.
- We sometimes suggest wiping dust off between stages and scribbling over everything with a sharpie or grease pen. If you finish a stage and still see black sharpie marks, it's because they are still inside deeper scratches that need to be removed with your current grit.
- You can apply this tip to your polishing stages as well.
- If not confident in your rotary sanding or if you've had difficulty cutting out your sanding marks, consider using dual action sanding in combination with rotary sanding to keep things consistent.
- Level with rotary - fast and efficient.
- Clean up with DA - safe.
- You can try doing this with each stage, or just cleaning up your final stage with DA at the end if you are confident you were consistent. This will add some time but may save you some difficulty cutting.
As with most things in metal polishing, taking shortcuts or using sub-par materials will only increase your frustration, increase your consumable usage, and add to your total cost through time spent. Spectrum sandpaper is used daily in our own work and provides excellent value.
1 comment
Great information, I learned some of this the hard way.